
Creative MIDI Generator Plugins
This article is an introduction to MIDI generators in the form of a review of some of the most advanced and useful plugins of this kind.

This article kicks off a new series on Ableton Live tips intended as a resource to facilitate and speed up the learning curve of this amazing DAW, as well as to help more advanced users to take it a step further. The tips will dive into modern music production fundamentals such as MIDI, mixing, sound design, workflow, beat-making, and more.
Use the Scale MIDI Effect to Stay in Tune
One of the hardest things that beginners face when starting out making music with Ableton Live, or any other DAW, is writing melodies and chords. Whether it is playing and recording them with a MIDI keyboard or writing them down on the piano roll, it may feel like being completely lost in a sea of wrong notes.
The main reason for this is that beginners usually don’t know much about scales or music theory, and they tend to use all the available notes of the keyboard at once. The excess of notes involved makes it much harder to come up with melodies and chords that sound coherent, simple and harmonious.
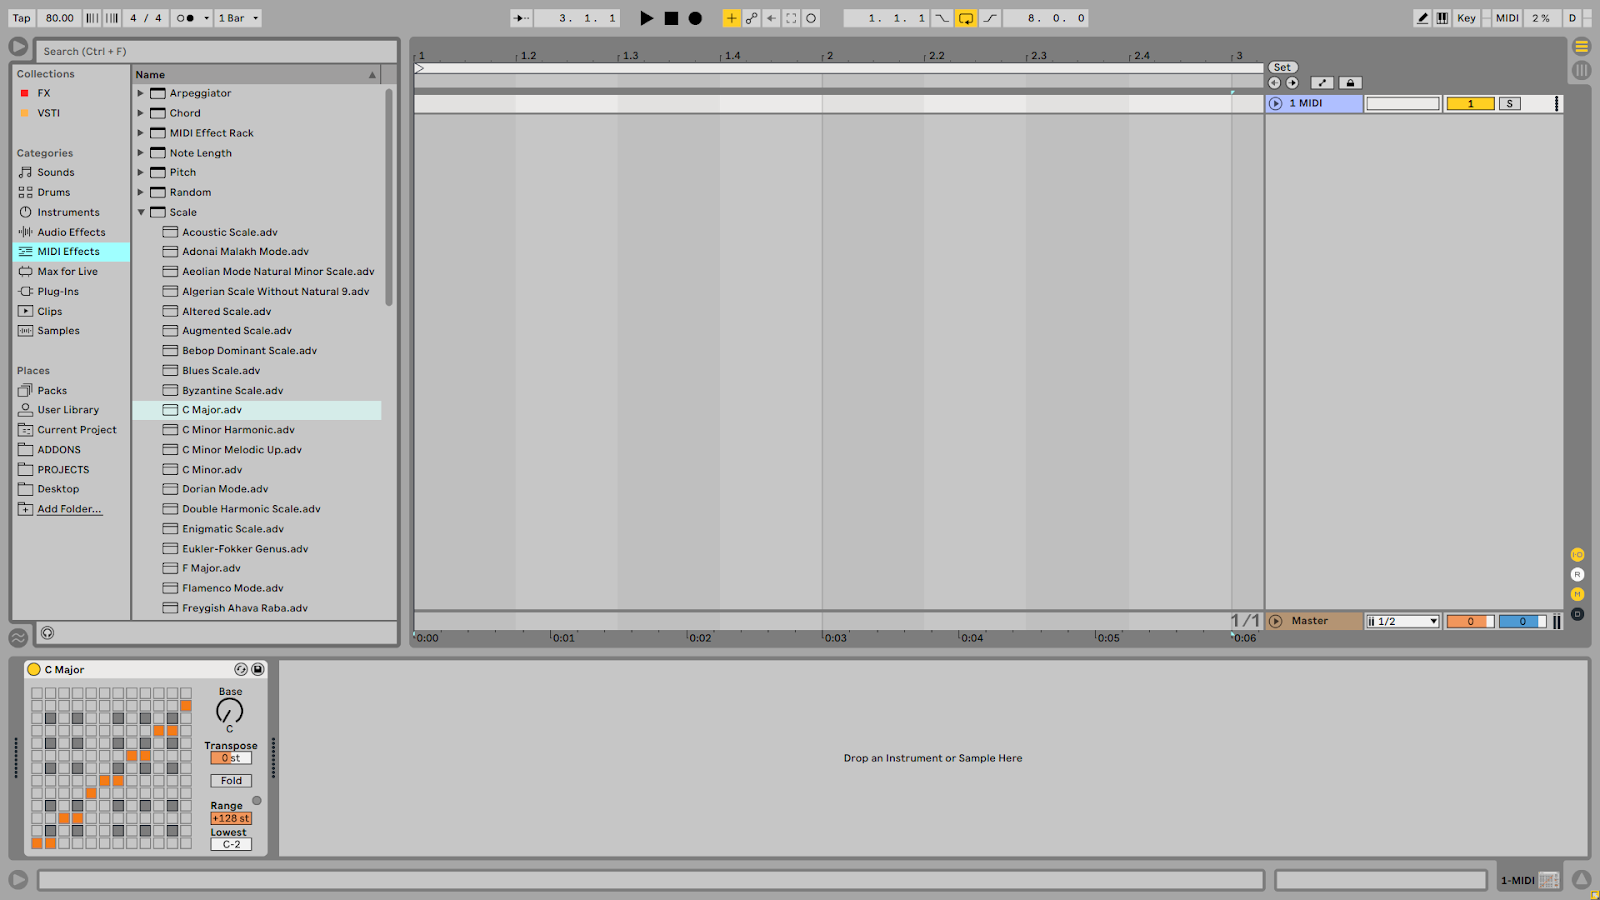
Luckily, Ableton Live includes a native plugin called Scale that provides real-time MIDI mapping, turning ‘wrong’ notes into ‘right’ ones. The plugin includes hundreds of scales that can be set so that no matter the notes you play or write, you always stay tuned to the chosen scale.
Use the Slice to New MIDI Track Feature to Turn Audio Loops into Drum Kits
Another question that plagues beginners at the start of their journey is how to make audio loops change over time instead of endlessly repeating the same all over. One of the ways this can be done is by turning the audio loops into drum kits and then control each slice of the loop via MIDI.
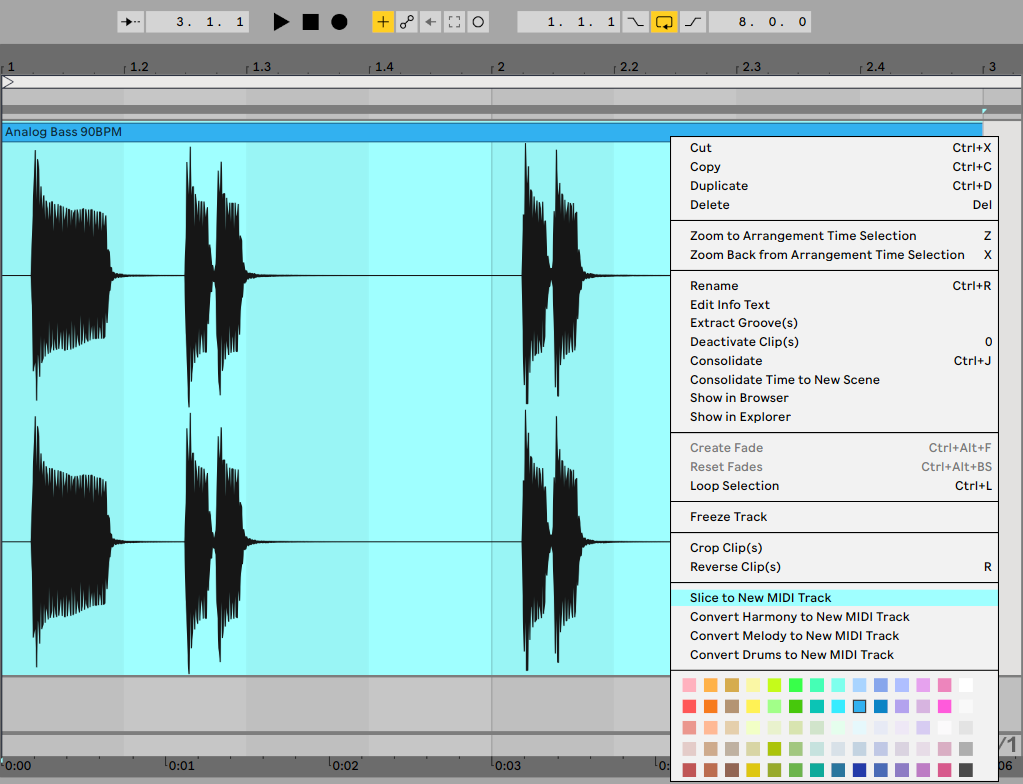
This can be done by right clicking on an audio loop and selecting ‘Slice to New MIDI Track’ from the contextual menu. After that, Live will automatically generate a drum rack with all the slices mapped to an individual cell that can be triggered via MIDI starting at C1.
Use the 0 Key to Activate and Deactivate MIDI Notes and Clips
One of my favourite features of Live 10 is the ability to activate and deactivate MIDI notes and clips with the 0 keyboard shortcut. This makes it very easy to control the density of MIDI clips and arrangements and create lots of variations in a non-destructive manner. To turn MIDI notes and clips on and off, simply select the desired range and hit the 0 keyboard shortcut.
Use the Utility Audio Effect for Gain Staging
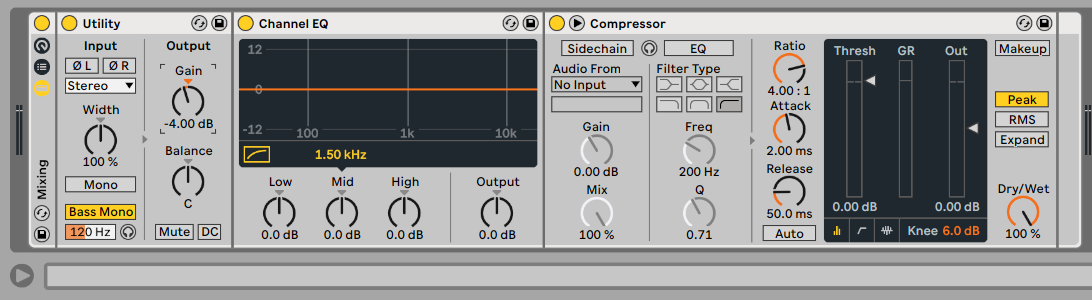
The Utility Audio Effect is a very handy plugin that allows you to control many aspects of an audio or instrument track input including Gain, Pan, and Stereo Width. It also features a Stereo/Mono switch, independent left and right phase flippers, a DC filter, and more. The Gain knob can be used for gain staging on individual tracks, groups, and the Master channel, allowing you to avoid clipping and retain a healthy headroom in your mixes at all times. To use it, place it at the beginning of your FX chain.
Stay Organised with Custom Collections and Folders
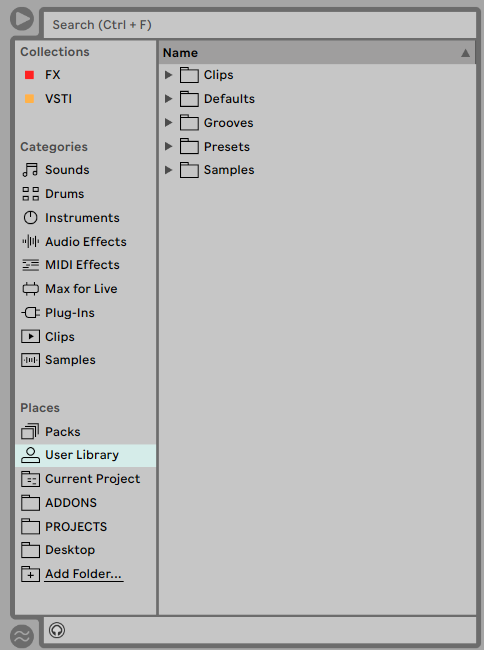
Organisation is important in order to minimise distractions and maintain focus on what really matters. To this end, Ableton provides Custom Collections, which allow you to create color labelled subcategories of plugins and assets right in the file browser.
This gives you several smaller subsets of resources that you can use to filter out unnecessary clutter and focus on the stuff you use most. I use this feature to separate FX plugins from Instrument plugins, which is fantastic for finding anything you need for your project in a matter of seconds.
On top of Custom Collections, there is a section called Places with some default directories for packs, user library, and current project, that can be extended with any system folders you may want to add. This is a good place to add shortcuts for your project files, sample packs, addons, and any other folder in your system.
Use the Fold Button to Limit the Piano Roll Editor to the Notes you’re Using
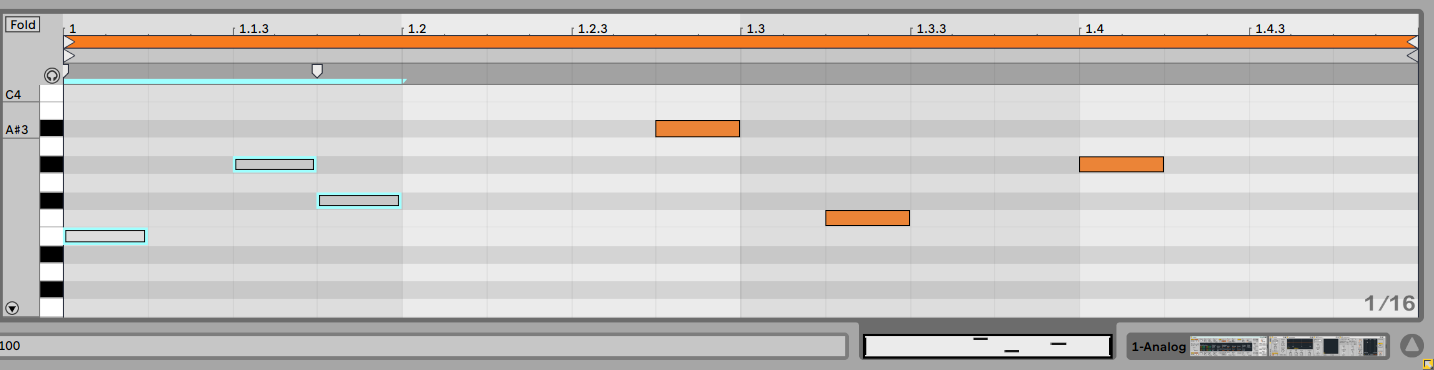
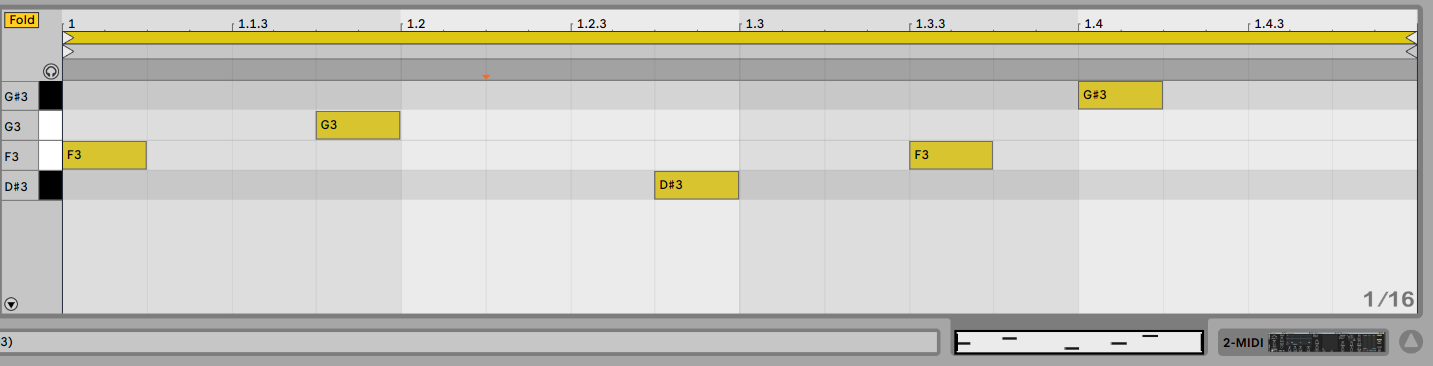
Another useful feature that helps with MIDI editing is the Fold button that is located on the MIDI Note Editor. Activating this button will hide all the piano roll keys that don’t contain notes, focusing the Note Editor exclusively on the notes that are in use.
This simplifies and enhances the task of MIDI editing greatly by stripping the editor of all the unnecessary key rows, which makes the task of moving notes up and down the roll much more simple and straightforward.
It also provides a mechanism for producers to define smaller subsets of notes such as chords and scales, in order to achieve a particular harmonic effect on each MIDI clip.
And that’s it for this first part of our Ableton Live Tips series. In this article we’ve learned a few cool tricks to speed up and improve your work with Ableton, including the use of a plugin that enables real-time tonal quantisation to always stay in key, an awesome feature to turn loops into drum kits, a powerful shortcut to switch MIDI notes and clips on and off, a simple yet imprescindible plugin to control the beginning of any audio processing chain, a way to stay organised with your plugins, projects, and assets, and lastly, a neat feature to simplify greatly your piano roll edits.
Stay tuned for the next one!


Share this